How To Make Bootable USB Drive Without Software
Required :
- A working Windows 7 system with a DVD drive and administrator rights.
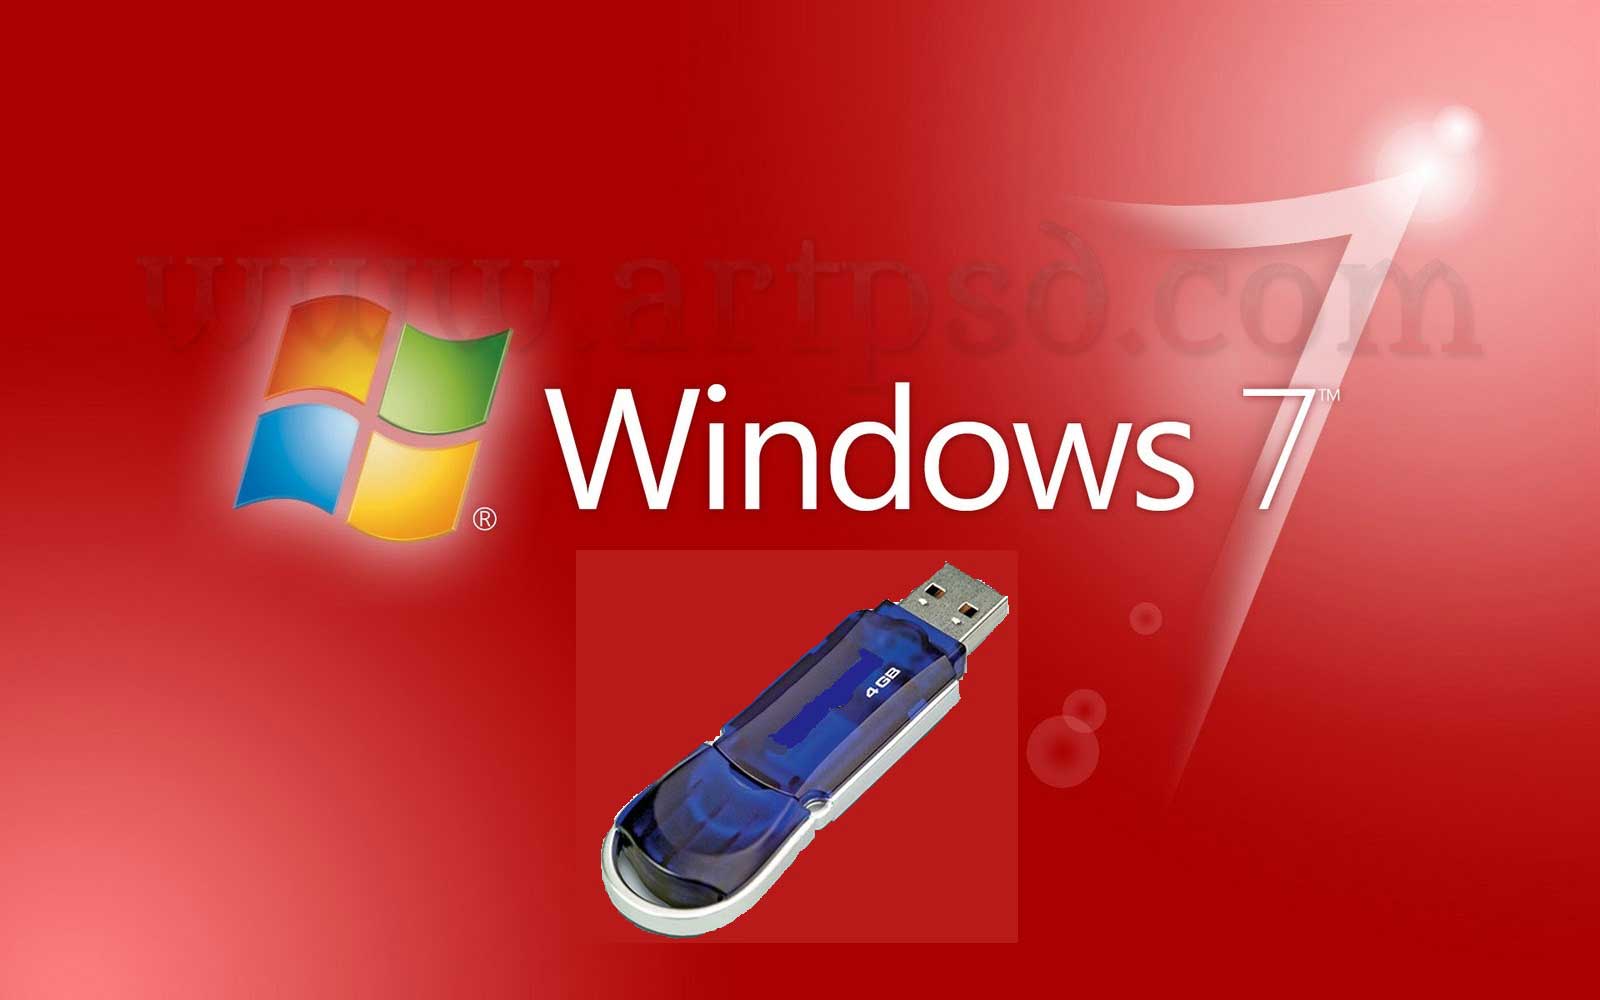
- Usb Flash Drive(4GB+)
- Windows Vista/7 OS DISK(DVD)
Step 1 : Format USB Drive
Use The Command Line to format the usb disk properly using the DISKPART Option.
Plug in your USB Drive
Click Start > All Programs > Accessories and right-click on command prompt. Select “Run As Administrator”(You need to be able to authenticate as the administrator on the PC You’re using).

Type the following command into the command prompt windows.
Type:
DISKPART

This will open up the partitioning application
Next Type :
LIST DISK

Figure out which of the drives listed is your USB drive, and note the number. It’s crucial you get this right, or you’re going to end up losing data on other drives.
Format the drive by typing the next instructions into the same window. Replace the number “1” with the number of your disk below.(Here, my disk is number 1. Don’t confuse this with PARTITION 1. That number should not change, even if your disk is 3)
Type:
select disk 1
clean
create partition primary
select partition 1
[s]
active
format fs=NTFS
assign
exit

When that is done you’ll have a formatted USB flash drive ready to be made Bootable.
Step 2: Make the Drive Bootable
Insert your Windows Vista / 7 DVD into your drive.
Change directory to the DVD’s boot directory(Your DVD Drive) where bootsect lives:
Type:
d:
cd d:\boot
[a]

Use bootsect to set the USB as a Bootable NTFS drive prepared for a Vista/7 image. I’m assuming that your USB flash drive has been labeled disk E:\ by the computer:
Type :
bootsect /nt60 e:
[k]

Note: The format step may take a little while (it actually took about 25 minutes on my machine).
You can now close the command prompt window, we’re done here.
Step 3: Copy the installation DVD to the USB drive. This will also take a while

Step 4 : Set your BIOS to Boot from USB
Now you should be all set – just insert the USB disk into your new PC, and enter the BIOS to adjust the boot order, or choose the option during start-up which says Choose Boot Device.
Enjoy !!!!!!!!!!! 🙂
——————————————————————————————————————-
Second Option
Make Bootable USB Drive Microsoft Windows 7 USB/DVD Tool
SYSTEM REQUIREMENTS
Must have Windows 7 ISO
- Windows XP SP2, Windows Vista, or Windows 7 (32-bit or 64-bit).
- Pentium 233-megahertz (MHz) processor or faster (300 MHz is recommended).
- 50MB of free space on your hard drive.
- DVD-R drive or 4GB removable USB flash drive.
FOR WINDOWS XP USERS
The following applications must be installed prior to installing the tool:
- Microsoft .NET Framework 2.0 must be installed. It can be downloaded here.
- Microsoft Image Mastering API v2 must be installed. It can be downloaded here.
[h]
Windows 7 USB/DVD Tool
DOWNLOAD Here
[a]
(It’s a free no need to buy this tool)
Step 1 :
INSTALL THE WINDOWS 7 USB/DVD TOOL
Step 2 :
Run Windows 7 USB/DVD Tool Click The Brows Button Select Windows 7 ISO File Click Next

Step 3 :
Next Option Choose Media Type Click USB Device

Step 4 :
Choose Your USB Device Then Click The Begin Coping Button
(You have to do is make sure that you are choosing the correct USB device).

The tool will prompt you if it detects data on the device. Once your data is backed up elsewhere, click Erase USB Device.

[l]
You will get another prompt warning you that all the data will be wiped. Click Yes to continue.

The format will be very quick, while the copying of the files will take a little bit more time (about 10 to 15 minutes).


Once the process is complete, you should get the above confirmation message. At this point you can close the tool and use the USB drive to install Windows 7.
Step 5 :
Set your BIOS to Boot from USB
Now you should be all set – just insert the USB disk into your new PC, and enter the BIOS to adjust the boot order, or choose the option during start-up which says Choose Boot Device.
Enjoy !!!!!!!!!!! 🙂